Email accounts
- Getting app password for AOL mail
- Getting app password for GMail/Gsuite
- Getting app password for Outlook and Hotmail
- Getting app password for Yahoo mail
- Enabling IMAP in AOL Mail
- Enabling IMAP in GMail/Gsuite
- Enabling IMAP in Yahoo Mail
- Enabling less-secure-apps setting in Gmail
- Adding another email address to Gmail
- How to access the Gmail archive
- How to forward Gmail emails to another Gmail
- How to recall an email in Gmail
- How to empty trash in Gmail
- Adding an email folder to Gmail
- Using email filters in Gmail
- Changing your Gmail background
- Marking emails as read in Gmail
- How to cc in Gmail emails
- How to add email to safe sender list Gmail
- 3 ways to attach an email in Gmail
- How to delete all unread emails in Gmail
- How to add an alias to Gmail
- How to add contacts to Gmail
- How to add a signature to Gmail
- How to change Gmail password
- How to blacklist Senders in Gmail
- How to change the name in Gmail
- How to change your Gmail address
- How to create a mailing list in Gmail
- How to delete a Gmail account
- How to encrypt an email in Gmail
- How to forward multiple emails in Gmail
- How to import contacts to Gmail
- Recovering deleted emails in Gmail
- How to select all emails in Gmail
- How to send a calendar invite in Gmail
- How to correctly sign out of Gmail
A right way to send a calendar invite in Gmail
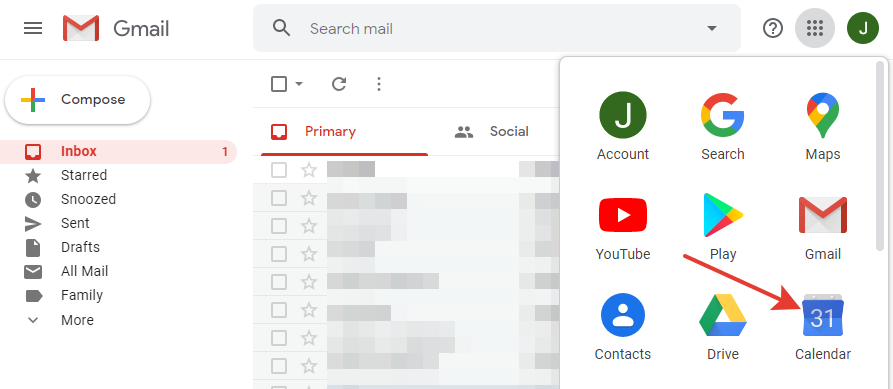
- Click the
Google appsbutton. -
In the application list, find the
Google Calendaricon and click it.
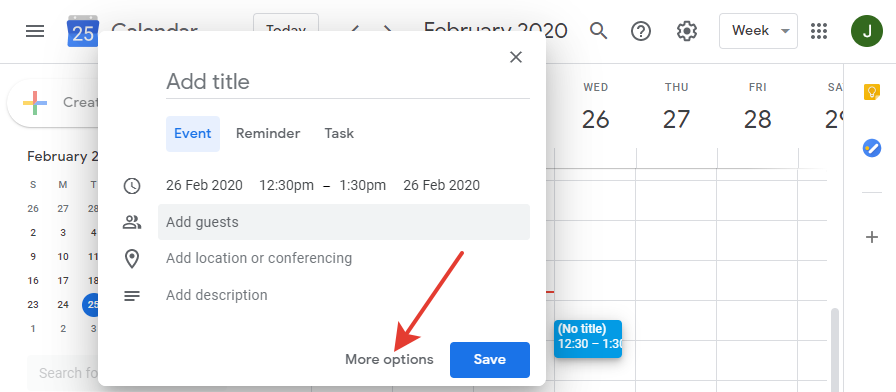
- In the calendar, select the desired date and time, then click on the chosen field.
-
In the window of quick event creation, click
Moreoptions. In this way, we will see more settings of the event being created, including the settings of guest rights.
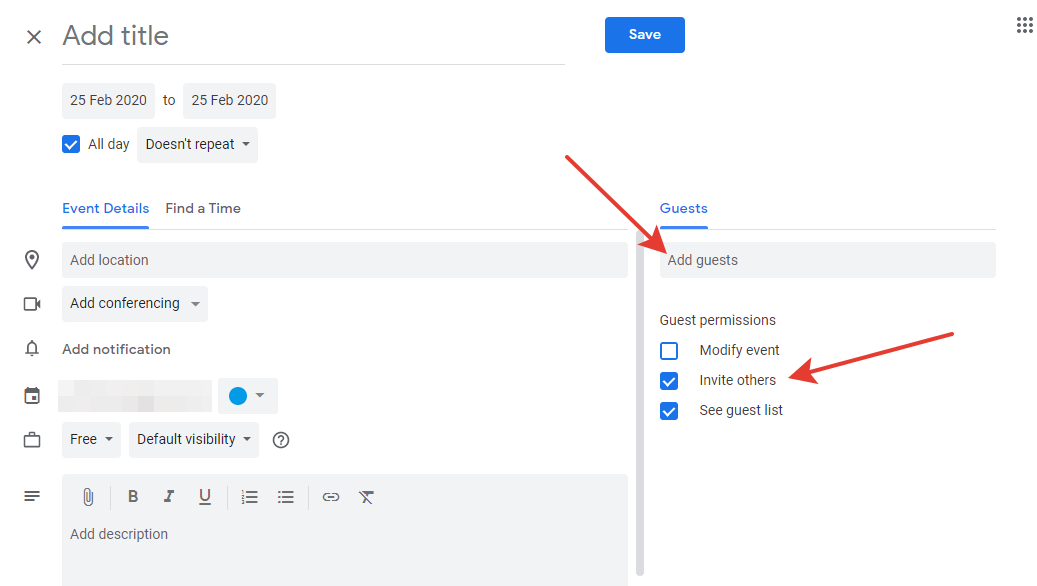
-
On the right side of the menu, check the
Guestssection. Here you can add guests from your contact sheet or write an email. -
In the
Guest permissionssection below, select the required permissions for your guests.
-
Set up other event settings such as
Title ,location ,description , and others. - Press the
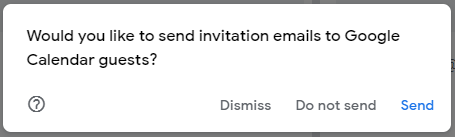
Savebutton from above. -
In the guest invitation confirmation window, click
Send.
Event created and invitations sent to all participants!
To add participants to the event, go to the event editing area by double-clicking on it.
Add new participants to the Add guests field in the same way as described above (in the event creation menu).
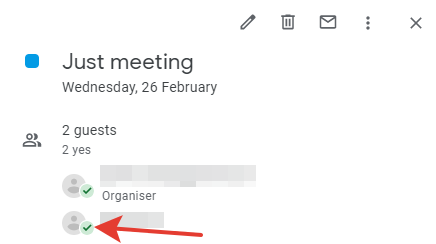
Once the guest confirms participation, you will see a green checkmark next to his icon on the event page.
Have questions? Contact us: [email protected]
Terms of Service Privacy policy Email hints Contact us
Made with favorite in Cyprus