How to Enable iMessage on an iPhone
If you've got an iPhone, you can easily learn how to enable iMessage and start sharing messages with friends and family quickly and easily! With this guide, you'll be messaging in no time.
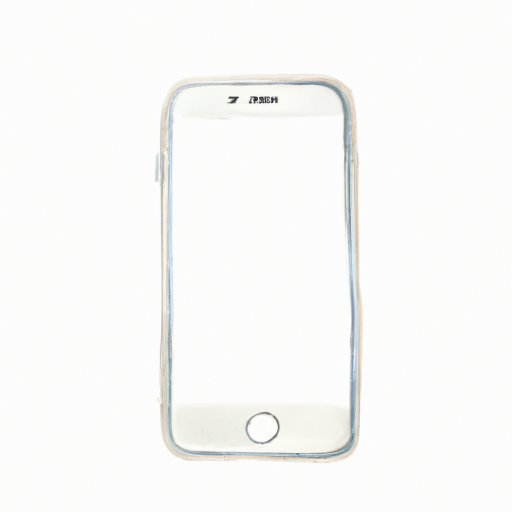
iMessage is a great way to stay connected with friends and family on your iPhone. With iMessage, you can send text messages, photos, videos, and even documents to other Apple devices. You can also use iMessage to share your location and set up group conversations.
Step 1: Check Your Device Compatibility
Before you can enable iMessage on your iPhone, you need to make sure that your device is compatible with the service. iMessage is available on all Apple devices running iOS 5 or later, including the iPhone 4, iPhone 4s, iPhone 5, iPhone 5s, iPhone 6, iPhone 6s, iPhone 7, iPhone 8, iPhone X, and newer models.
Step 2: Check Your Network Connection
Once you have confirmed your device compatibility, you need to make sure that your network connection is strong enough to use iMessage. iMessage requires a reliable Wi-Fi or cellular data connection in order to work properly. You can check your connection strength in the Settings app by tapping on the Wi-Fi or Cellular options in the menu.
Step 3: Enable iMessage
Once you have a strong network connection, you can begin setting up iMessage on your iPhone. To do this, open the Settings app and tap on the Messages option. Then, make sure that the iMessage switch is toggled to the On position. If the switch is already green, then iMessage is already enabled on your device.
Step 4: Sign In With Your Apple ID
The next step is to sign in with your Apple ID. This is necessary in order to use iMessage on your iPhone. To sign in, tap the Sign In button and enter your Apple ID and password. If you don’t have an Apple ID, you can create one by tapping the Create New Apple ID button.
Step 5: Set Up Your Phone Number
Once you have signed in with your Apple ID, you need to set up your phone number. You can do this by tapping the Add Phone Number option and entering your number. Once you have entered your number, you will receive a verification code via SMS. Enter the code in the field provided and tap the Verify button to confirm your number.
Step 6: Set Up Your Email Address
The next step is to set up your email address. This is not necessary, but it can be useful if you want to be able to send and receive iMessages from other Apple devices. To set up your email address, tap the Add Email Address option and enter your email address. You will then receive a verification code via email. Enter the code in the field provided and tap the Verify button to confirm your email address.
Step 7: Set Up Your Name
The last step is to set up your name. This is the name that will be displayed to other iMessage users when you send them a message. To set up your name, tap the My Info option and enter your name. Once you have entered your name, tap the Done button to save your changes.
That’s it! You have successfully enabled iMessage on your iPhone. Now you can start sending and receiving messages with other Apple devices. Enjoy!
Terms of Service Privacy policy Email hints Contact us
Made with favorite in Cyprus