Step-by-Step Guide to Drawing an iPhone
This article provides an easy-to-follow guide on how to draw an iPhone - perfect for both beginners and experienced artists! So grab your pencils and let's get started!

Step 1: Sketch the Outline
The first step in drawing an iPhone is to sketch the outline. This will help you define the shape of your iPhone and give you a reference for the basic proportions of the device. Start by lightly sketching a rectangle with rounded corners. This will be the body of your iPhone. Then draw a line near the top of the rectangle for the bezel and add a circle near the bottom for the home button. Now, sketch two circles near the top of the rectangle for the camera lens and speaker. Lastly, draw four straight lines underneath the rectangle to represent the iPhone’s buttons.
Step 2: Refine the Outline
Now that you have the basic outline of the iPhone, you can start refining it. Clean up the lines by erasing any unnecessary marks or lines. Draw two more circles on the top of the rectangle for the microphone and the power button. Also, draw two more lines on the bottom of the rectangle for the volume buttons. Make sure to make all the circles and lines symmetrical.
Step 3: Add the Shading
Once you’ve refined the outline of your iPhone, you can start adding the shading. Start by shading the body of the iPhone using a light pencil. Use a circular motion to create a gradient from dark to light. Then, shade the bezel and the buttons using a darker pencil. You can also add some shadowing near the edges to make the iPhone look more realistic.
Step 4: Add Details
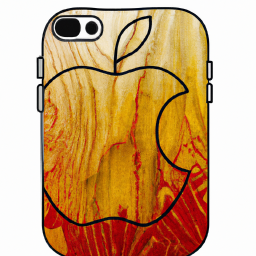
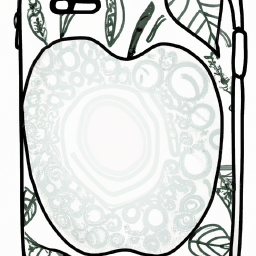
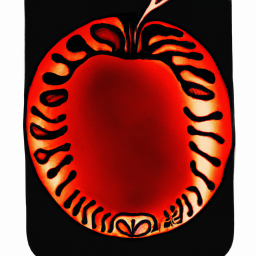
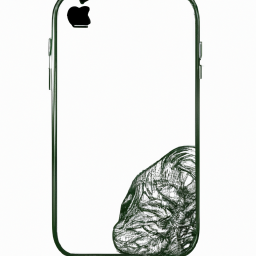
Now that you have the basic shape and shading of your iPhone, you can start adding the details. Begin by adding the Apple logo to the back of the iPhone. You can also add some texture to the back of the iPhone by lightly drawing small circles. Then, draw the headphone jack and the charging port at the bottom of the phone. Lastly, draw the camera lens and the speaker grille.
Step 5: Color the iPhone
Finally, you can color your iPhone to make it look more realistic. Start by choosing your desired color for the iPhone. Then, fill in the body of the iPhone with the chosen color. You can also color the bezel and the buttons a darker shade of the same color. Lastly, color the Apple logo and the other details with a light shade of grey.
Drawing an iPhone can be a fun and creative process. With a few simple steps, you can create a realistic iPhone drawing that looks professional. Just remember to start with the outline, refine it, and then add the shading and details. Once you’ve finished, you can add color to give your iPhone a realistic look. With a bit of practice, you can create a realistic iPhone drawing in no time.


Terms of Service Privacy policy Email hints Contact us
Made with favorite in Cyprus