How to Format an External Hard Drive for Mac Computers
If you're a Mac user looking to get the most out of your external hard drive, this article is for you! Learn how to format your external hard drive for Mac computers in just a few simple steps.
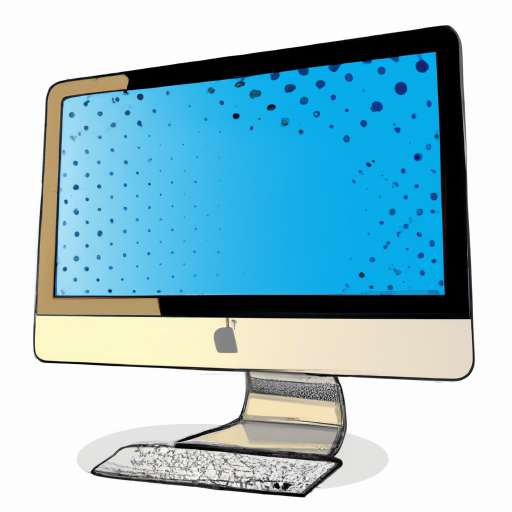
External hard drives are a great way to increase your Mac’s storage capacity without needing to purchase a new hard drive or computer. Formatting an external hard drive for your Mac is a simple process, but it is important to make sure you are formatting the drive properly to get the most out of it. In this article, we will discuss how to format an external hard drive for Mac computers.
Step 1: Back Up Your Data
Before you format your external hard drive, it is important to back up any data that is currently stored on it. This is to ensure that you do not lose any data when you format the drive. To back up your data, you can use the built-in Time Machine feature on your Mac or use a third-party backup program such as Carbon Copy Cloner.
Step 2: Determine the File System
The next step is to determine the file system you want to use on your external hard drive. The most common file systems for Mac computers are HFS+ (also known as Mac OS Extended) and APFS (Apple File System). HFS+ is the older and more established file system and is more compatible with different types of devices and operating systems. APFS is the newer file system and is more efficient when it comes to storage space and performance.
Step 3: Connect the External Hard Drive to Your Mac
Once you have determined the file system you want to use, the next step is to connect the external hard drive to your Mac. You can connect it using a USB or Thunderbolt cable, depending on the type of external hard drive you have.
Step 4: Launch Disk Utility
After connecting your external hard drive to your Mac, the next step is to launch the Disk Utility app. This app is located in the Applications > Utilities folder on your Mac. Once you have launched the app, you will see a list of all the disks and volumes connected to your Mac.
Step 5: Select the External Hard Drive and Format It
Now that you have launched the Disk Utility app, the next step is to select the external hard drive and format it. To do this, select the external hard drive from the list of disks and volumes, then click the “Erase” button. This will open a window where you can select the format you want to use for the drive.
Step 6: Name the External Hard Drive and Confirm the Format
Once you have selected the format you want to use for the drive, the next step is to name the external hard drive and confirm the format. To do this, enter a name for the drive in the “Name” field and then click the “Erase” button. This will begin the process of formatting the drive.
Step 7: Wait for the Formatting Process to Complete
The formatting process may take several minutes to complete, so you will need to wait for the process to finish before you can use the drive. Once the process is complete, the external hard drive will be ready to use with your Mac.
Formatting an external hard drive for your Mac is a simple process that can be completed in just a few steps. By following the steps outlined in this article, you can easily format your external hard drive and get the most out of it.

Terms of Service Privacy policy Email hints Contact us
Made with favorite in Cyprus