How to Create a Bootable Windows 7 USB Drive
Creating a bootable Windows 7 USB drive is a great way to save time - and it's easier than you think! Follow this simple guide to get started.
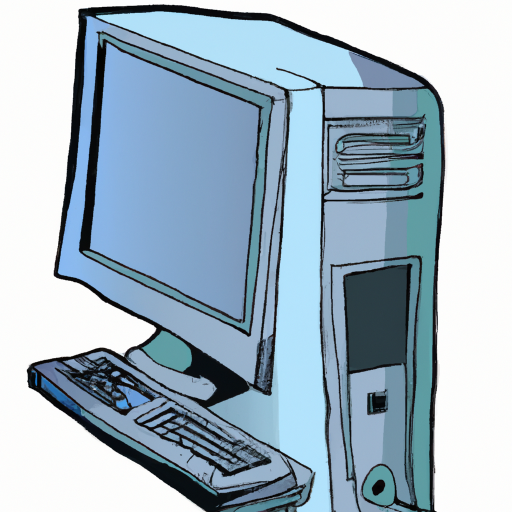
Creating a bootable USB drive is a great way to install an operating system on a computer without needing to use a disc. It is especially helpful when dealing with a computer that does not have a disk drive. In this article, we will discuss how to create a bootable Windows 7 USB drive.
Step 1: Download the Windows 7 ISO File
The first step is to download the Windows 7 ISO file. You can get it from the Microsoft website or a third-party website. Once you have downloaded the file, make sure to save it in a safe location so that you can access it later.
Step 2: Download the Windows 7 USB/DVD Download Tool
The next step is to download and install the Windows 7 USB/DVD Download Tool. This is a free tool from Microsoft that will allow you to create a bootable USB drive from the Windows 7 ISO file. You can download it from the Microsoft website.
Step 3: Connect your USB Drive to the Computer
Once you have downloaded and installed the Windows 7 USB/DVD Download Tool, the next step is to connect your USB drive to the computer. Make sure to use a USB drive with at least 4GB of storage space.
Step 4: Open the Windows 7 USB/DVD Download Tool
Once you have connected your USB drive to the computer, the next step is to open the Windows 7 USB/DVD Download Tool. You can find it in your Start menu or in the Programs folder.
Step 5: Select the Windows 7 ISO File
The next step is to select the Windows 7 ISO file that you downloaded earlier. You can do this by clicking the “Browse” button and navigating to the file. Once you have selected the file, click “Next” to continue.
Step 6: Select the USB Drive
The next step is to select the USB drive that you want to use. Make sure to select the correct drive, otherwise you may end up formatting the wrong drive and losing your data. Once you have selected the drive, click “Next” to continue.
Step 7: Begin the Process
The next step is to begin the process of creating the bootable USB drive. This will take a few minutes and you should not disconnect the USB drive or turn off the computer during this process. Once the process is complete, you will be prompted to “Close” the tool.
Step 8: Test the Bootable USB Drive
The final step is to test the bootable USB drive. To do this, you will need to restart the computer and enter the BIOS setup. Once you are in the BIOS, you should be able to select the USB drive as the boot device. If it works, then you have successfully created a bootable Windows 7 USB drive.
Creating a bootable USB drive is a great way to install an operating system on a computer without needing to use a disc. All you need is a USB drive with at least 4GB of storage space and the Windows 7 ISO file. Follow the steps outlined above to create a bootable Windows 7 USB drive. Once it is complete, you can use it to install Windows 7 on any computer.
Terms of Service Privacy policy Email hints Contact us
Made with favorite in Cyprus